7 Hacks to Turn an eBook Into a Paperback Without a Designer
“A book is a dream you can hold in your hands.” — Neil Gaiman
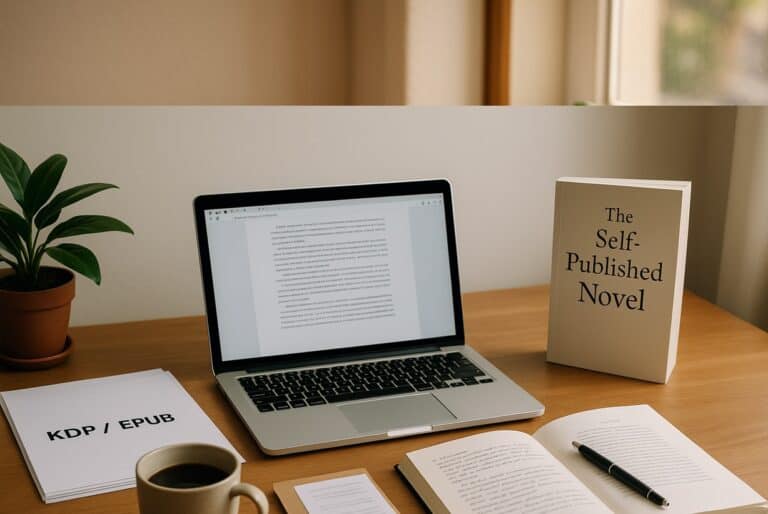
You’ve written and published your eBook. Now what? Many new indie authors stop there. They assume that turning an eBook into a paperback is too complicated or expensive. But here’s the good news. With today’s affordable and accessible tools, you can create a beautiful paperback edition without hiring a professional designer.
Turning an eBook into a paperback gives your book physical presence. It opens doors to libraries, bookstores, and in-person events. It also increases credibility. Readers often perceive a printed book as more “real” or established.
In this part of our series on self-publishing basics, we’re here to provide you with step-by-step guidance on how to convert your eBook into a paperback. We’ll show you how to format it correctly, design a professional interior, and upload it to Amazon KDP, all without the need for costly design services.
Step 1: Choose Your Trim Size and Paper Type
Before you begin, decide how your book will look and feel in a reader’s hands.
- Trim size refers to the physical dimensions of your book (for example, 6” x 9”). For most indie authors, 6” x 9” is the standard, but smaller books (5.5” x 8.5”) work well for novels or memoirs.
- Paper color: Choose between white (best for nonfiction, business, or highly visual books) and cream (easier on the eyes for fiction).
- Bleed vs. no bleed: If images or backgrounds extend to the page edges, select bleed. Otherwise, choose no bleed for standard text layouts.
Pro Tip: Review 4–5 paperbacks in your genre on Amazon. Note their trim sizes, paper colors, and layouts. You’ll learn what looks right for your genre.
Step 2: Prepare Your Manuscript for Print
Your eBook file (usually an EPUB) isn’t the same as a print interior. Print books require a fixed layout with page numbers, headers, and consistent margins.
Here’s what you’ll need to do:
- Start from a clean Word or Google Docs file. Remove hyperlinks, adjust spacing, and ensure consistent paragraph styles.
- Set your margins and page size to match your chosen trim. Amazon KDP provides templates for popular sizes—download one to check placement for headers, footers, and margins.
- Add front and back matter: title page, copyright, acknowledgments, about the author, and optionally a preview of your next book.
- Insert page numbers and chapter headings. Avoid overly decorative fonts. Serif fonts like Garamond or Georgia read beautifully in print.
- Export as PDF—this will be your print-ready interior file.
Pro Tip: Tools like Atticus, Reedsy Book Editor, or Scrivener can automate interior formatting for both eBook and print. If you’re on a tight budget, Reedsy’s free tool is an excellent place to start for turning your eBook into a paperback.
Step 3: Design a Paperback Cover the Easy Way
A paperback cover differs from an eBook cover because it requires three parts: front cover, back cover, and spine. Whereas an eBook only has a front cover. For a paperback, the total width depends on your page count and paper type. You don’t need professional design software. Free and affordable tools make the process manageable:
- Canva – Use their Book Cover (Print) templates. You can upload your eBook cover art and extend the design to include the spine and back.
- Book Brush – Ideal for authors; it calculates spine width and lets you preview your full wrap.
- KDP Cover Creator – Amazon’s built-in tool generates a printable cover from your existing eBook file and metadata.
When turning your eBook into a paperback, be sure to include essential back cover elements:
- A short book description (150–200 words)
- Your author bio
- ISBN and barcode placement (KDP adds the barcode automatically)
- Optional review quote or series tagline
Pro Tip: Make sure text sits inside the “safe area” so nothing gets cut off during printing. Always preview before publishing.
Step 4: Get a Free ISBN and Upload to KDP
To sell your paperback, you’ll need an ISBN (International Standard Book Number). If you’re publishing on Amazon KDP, you can choose one for free during the setup process. Here are the steps:
- Go to your KDP dashboard and select “Paperback.”
- Fill in your book details (title, subtitle, author name, keywords, categories).
- Choose “Get a Free KDP ISBN” or input your own if you purchased one through Bowker.
- Upload your interior PDF and cover file.
- Preview using the KDP Print Previewer to ensure nothing is cut off.
- Approve the proof and submit for publication.
Your paperback will appear on Amazon within 72 hours, automatically linked to your eBook edition.
Step 5: Order a Proof Copy
Before announcing your paperback to the world, always order a proof copy. When it arrives:
- Check alignment, margins, and spacing.
- Flip through every page for missing or misaligned text.
- Inspect print quality, especially images, if any.
- Make notes of any corrections needed, adjust your file, and re-upload if necessary.
Pro Tip: Read a chapter out loud from the proof copy. You’ll notice small layout or spacing issues that are easy to miss on a screen.
Step 6: Price and Distribute Your Paperback
Pricing affects both royalties and reader perception. Here’s a quick overview for Amazon KDP:
- Printing cost depends on page count, ink type, and marketplace.
- You typically earn 60% of the list price minus printing costs on Amazon.com.
- For example, if you price a 250-page black-and-white paperback at $12.99, you might earn around $3.50 per copy.
Set your pricing by:
- Comparing other books in your genre.
- Balancing perceived value and reader expectations.
- Leaving room for future discounts or promotions.
Once you publish, your book becomes available on Amazon, and optionally, through Expanded Distribution (to bookstores and libraries).
Step 7: Market Your Paperback
Congratulations! Now that you have turned your eBook into a paperback edition, here’s how to spread the word:
- Add “Now in Paperback!” to your author website, email list, and social posts.
- Include paperback links in your eBook’s back matter.
- Bring copies to local libraries, book fairs, or cafés.
- Ask readers to share photos of your paperback on social media.
Quick Win: Pair a signed paperback giveaway with your newsletter launch. It boosts engagement and helps build your readership.
The Secret?
Turning your eBook into a paperback isn’t reserved for designers or tech experts. With a few free tools, a clean manuscript, and a little patience, you can create a print edition that looks every bit as professional as traditionally published books.
The real secret? Careful preparation. By understanding trim sizes, layout, and cover design basics, you’ll build confidence and control over your publishing process and save hundreds of dollars in the process.
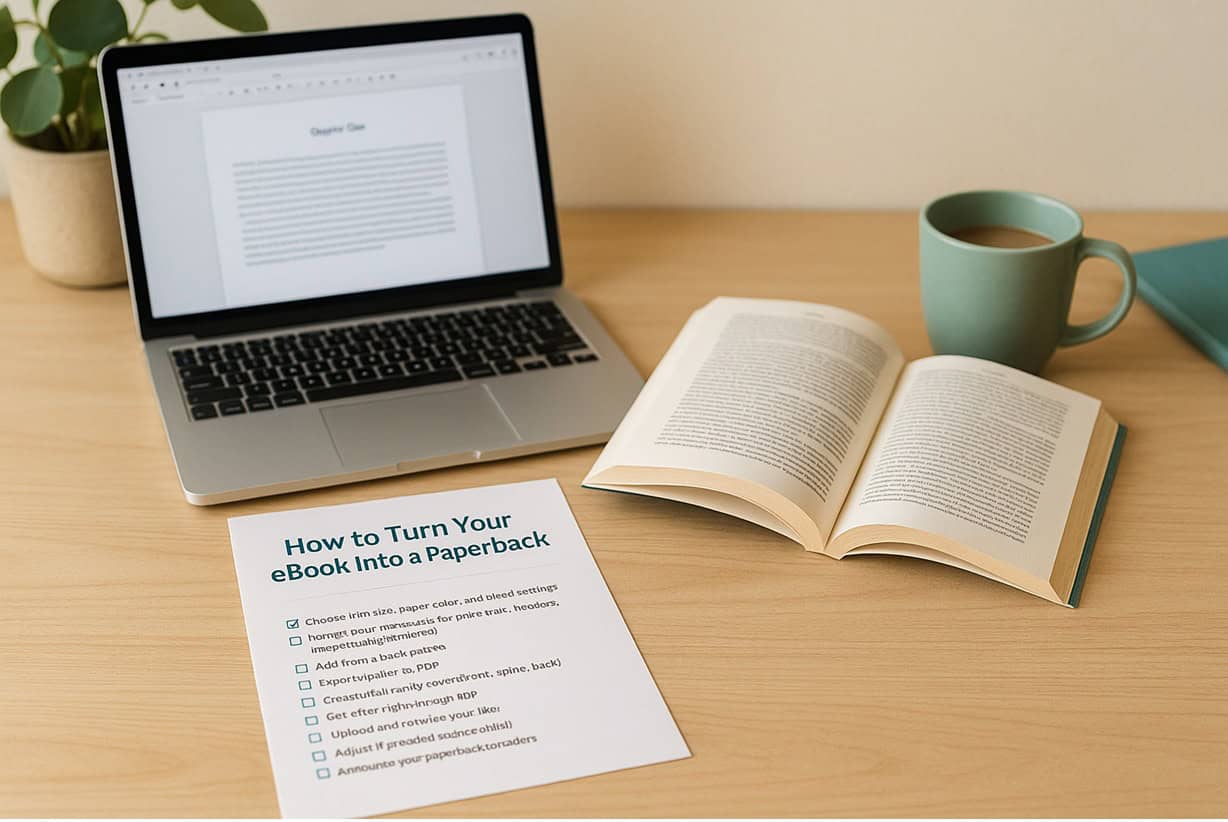
Checklist: Turn Your eBook Into a Paperback (Without a Designer)
- Choose trim size, paper color, and bleed settings
- Format your manuscript for print (margins, headers, page numbers)
- Add front and back matter
- Export interior as PDF
- Create a full-wrap cover (front, spine, back)
- Get a free ISBN through KDP
- Upload and preview your files
- Order and review a proof copy
- Adjust if needed and republish
- Announce your paperback to readers
We trust you’ve found this writer’s guide both informative and inspirational. It’s designed to equip you with the tools and insights to bolster your success as a burgeoning author.
The path of writing is one filled with endless learning and growth. But you’re not expected to take this path alone. We’re thrilled to walk with you on this journey, offering support and motivation at every turn. Our objective is to deliver foundational knowledge and pragmatic advice, enabling you to navigate the literary landscape with increased confidence.
For more guidance, see other writer’s guides in the series, such as Amazon KDP Made Easy—7 Steps for Self-Publishing.
If you have a draft you want to publish with the help of AI, read, Is Your Book Ready to Self-Publish?
For help writing a non-fiction book, read Write Your First Non-Fiction eBook: a 30-Day Workbook for Getting It Done.
How can we help? To let us know, please fill out our Contact form. Happy writing!